Showing posts with label sweets. Show all posts

Friday

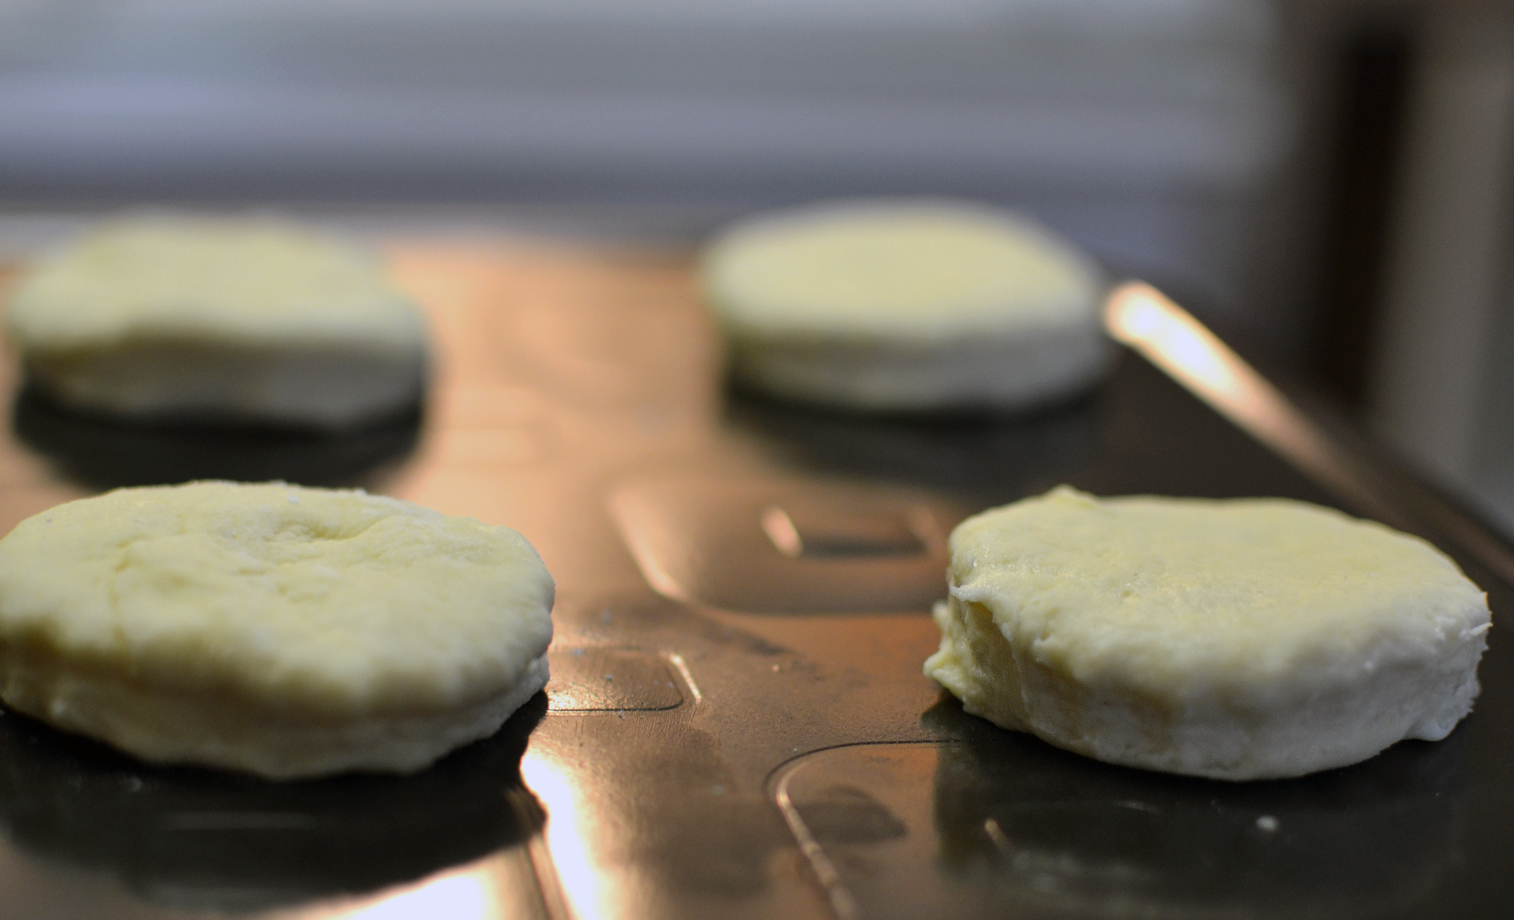
Fruit-Filled Hand Pies


 {homemade mixed berry spread}


 {quick photo shoot of Packer while the hand pies baked}


I've never made fruit-filled hand pies before, but I was clearly inspired after making hand pies at my pastry internship at Scratch Baked Goods, in Long Beach, California. I've made a number of pies before, including this strawberry rhubarb pie, and the crust at the bottom is always soggy, and never as flakey and light as the crust. So, some genius created the idea of folding the insides of a pie with the same flakey crust dough to create the same experience, but in a neater and cleaner way. 

You can fill these hand pies with any jam, fruit spread, chopped fruit, pie filling or fruit butter, and the crust will always turn out flakey and light. No more runny insides of a pie that can seriously ruin your day once you slice it (...that has happened to me), but now create smaller, more convenient and equally delicious baked goods for everyone to enjoy. 

Here is the recipe: 

Patee Brisee by Martha Stewart 
Ingredients:
  • 3 3/4 C all-purpose flour
  • 1 1/2 tsp sugar
  • 2 1/2 tsp salt
  • 3 sticks (1 1/2 C) unsalted butter, cold and cut into small pieces
  • 1/2 C ice water, plus more if needed
Directions:
  1. In the bowl of a food processor, combine flour, sugar, and salt; pulse to combine. Add butter, and pulse until mixture resembles coarse crumbs with some larger pieces remaining, about 10 seconds. (To mix by hand, combine dry ingredients in a large mixing bowl, then cut in butter with a pastry blender.)
  2. With the machine running, add ice water through the feed tube in a slow, steady stream, just until dough holds together without being wet or sticky. Do not process more than 30 seconds. Test by squeezing a small amount of the dough together; if it is still too crumbly, add a bit more water, 1 tablespoon at a time.
  3. Turn out dough onto a clean work surface. Divide in half, and place each half on a piece of plastic wrap. Shape into flattened rectangles. Wrap in plastic, and refrigerate at least 1 hour or overnight.
Assembling the hand pies:
adapted by Martha Stewart 
  • About 2 C of fruit, cut into 1/4 inch pieces (I used thinly sliced Granny Smith apples as well as homemade mixed berry spread)
  • 1 tbl granulated sugar (for the apple slices)
  • 1/2 tsp cinnamon (for the apple slices)
  • 1 tbl cornstarch mixed with the zest of 1/2 orange and 1/2 orange's juice (for the apple   slices)
  • 1 egg, lightly beaten
  1. Preheat oven to 375 degrees and prepare two baking sheets with parchment paper. 
  2. Once the dough has chilled for at least one hour, roll it out and cut out as many 5-inch circles as you can. 
  3. With a dry pastry brush, sweep off excess flour. Working with one circle at a time, place 2 tablespoons of your fruit mixture in the center. Brush two connecting edges with beaten egg and fold on the diagonal over the filling, pressing to seal. Repeat process with remaining squares.
  4. Repeat entire process with remaining pate brisee. Place hand pies on prepared baking sheet. Brush pies with remaining egg wash. Using a paring knife, make three cuts in the dough at the top of the hand pie to allow any steam to escape.  
  5. Transfer baking sheets to oven and bake until crusts are golden brown and filling is bubbling, 25 to 30 minutes. Cool slightly on a wire rack. Serve warm.
xo, A

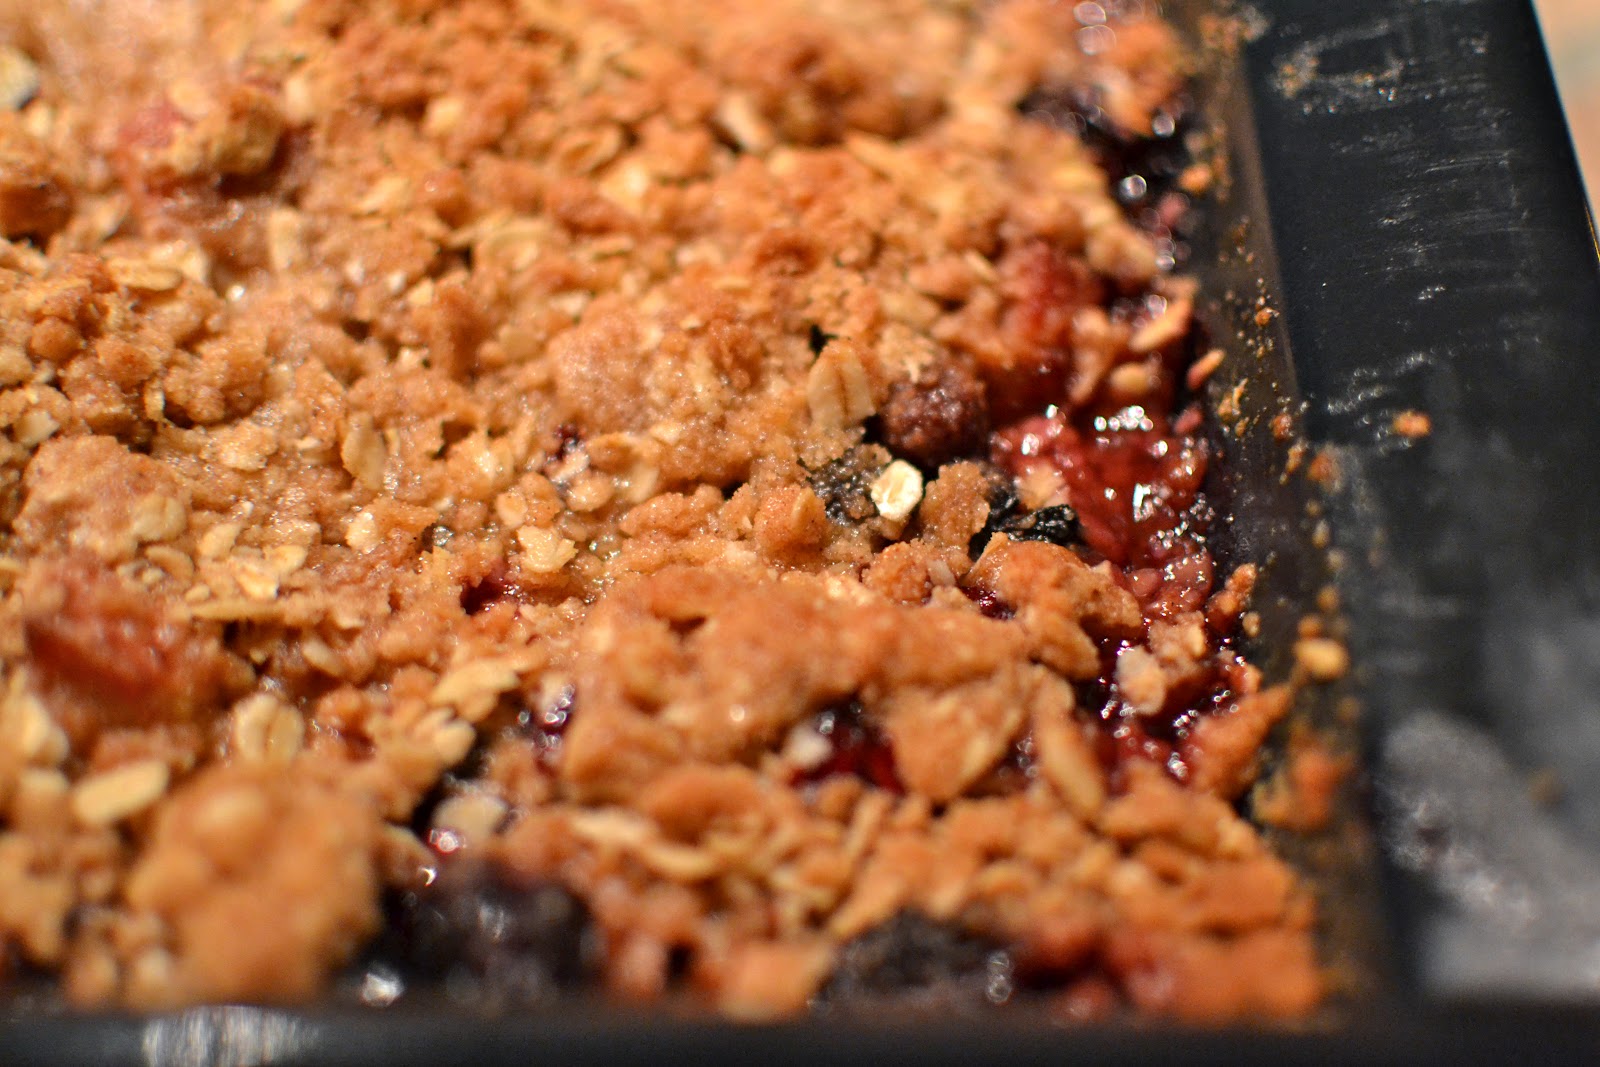
Blueberry Rhubarb Crisp


Okay I know I am starting to have a lot of posts with rhubarb, but I'm not that obsessed with rhubarb, I just had so much left over from the strawberry rhubarb jam! Four pounds worth! I clearly got way too much at the grocery store... oh well. 


When I was back in Washington last month I tried a delicious slice of blueberry rhubarb pie from the cutest bakery. I thought, since I already made a strawberry rhubarb pie, I thought I'd make a crisp instead. I looked at so many recipes for blueberry rhubarb crisps, but I decided to create my own recipe for the filling of the crisp. 


I love crisps that have a bit of cinnamon and nutmeg that remind me of baking in the fall. The taste of the blueberries and rhubarb contrast so well, and the tartness of the rhubarb is more apparent against the sweet blueberries. You'll get both a sweet and a tart taste in this crisp that is so divine! At first it may be an unusual combination to bake with, but blueberries and rhubarb are widely abundant around this time of year, which makes this crisp a perfect summertime dessert. 


Here is my recipe for the filling:

  • 4 C fresh rhubarb, 1/2" to 1" slices
  • 2 C fresh blueberries
  • 1/3 C brown sugar
  • 1/2 C sugar
  • 1.5 tbl all-purpose flour
  • 2 tsp lemon zest
  • 1 tsp lemon juice
  • 1 tsp water

Topping: 
from Cooks
  • 2/3 C all purpose flour
  • 2/3 C oatmeal
  • 1/2 C brown sugar
  • 1/2 C butter, cut into pieces
  • 1/2 tsp cinnamon
  • 1/4 tsp nutmeg
  • 1/4 tsp salt

  1. Preheat oven to 375. Prepare a 8 x 8 x 2 baking dish by buttering the inside. 
  2. Combine the sliced rhubarb, blueberries, brown sugar, sugar together. Add the flour, lemon zest, lemon juice and water, and combine gently. 
  3. Pour mixture into buttered pan, then start making the topping. Combine the flour, oats, brown sugar, cinnamon, nutmeg and salt into a bowl. Add the sliced butter and combine with a fork until crumbly - sprinkle over the fruit covering it completely. 
  4. Place in the oven and bake for about 30 minutes, until the fruit is bubbling. Serve warm with ice cream, whipped cream or neither. 

Enjoy! 
xoxo, A


Tuesday

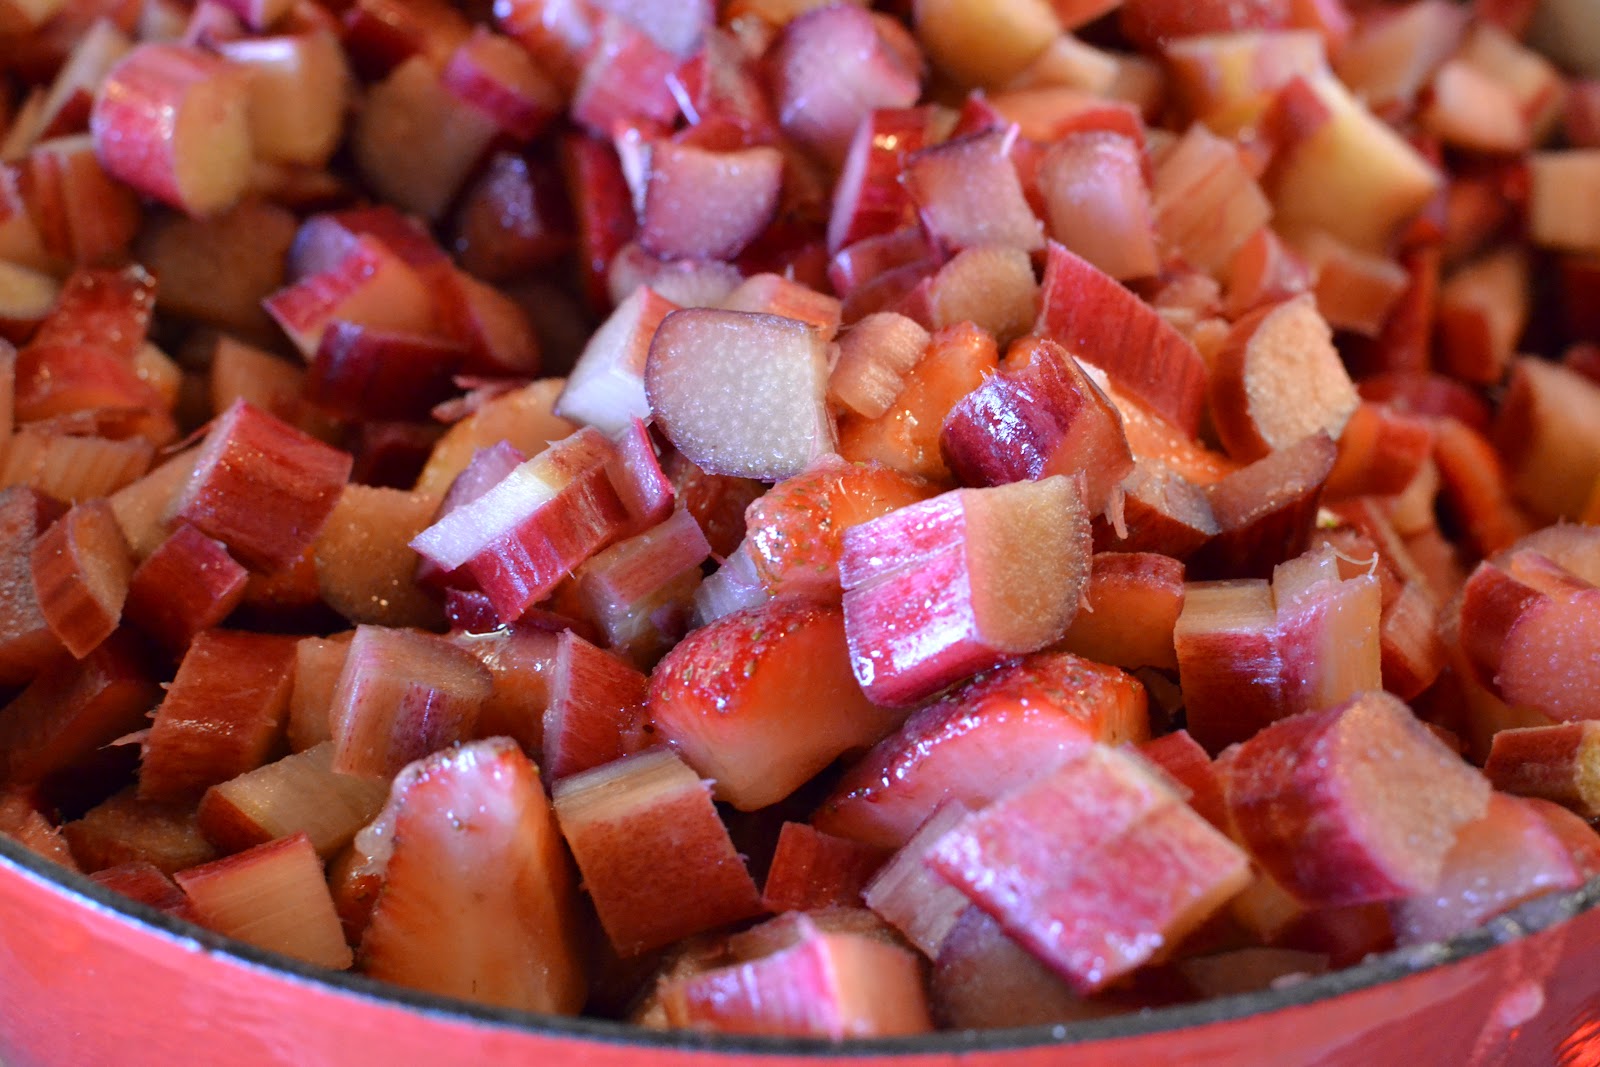
Strawberry Rhubarb Jam


I just love rhubarb now. I honestly never thought I would like the tart and sour fruit (...vegetable??), but it cooks and blends so nicely with other sweet fruit. I've been wanting to make strawberry rhubarb jam with my mom ever since I saw the first few stalks of rhubarb at the farmers markets in Washington. I told her she had to buy like 4 pounds of rhubarb or I wasn't coming home. Ha kidding... I went home and went on a huge search to find rhubarb at all my local grocery stores (my local farmers market wasn't until the weekend.. bummer.)

The rhubarb that was out on display at 2 of my local grocery stores had definitely been picked over... so that wasn't going to cut it. They happily got more in the back for me and I ended up getting a huge portion of it. I knew that all the rhubarb that the recipe called for would eventually cook down; this recipe only makes about 6 pints! It's not that much for all the fruit it requires. The jam is still delicious and definitely worth making - it's now officially the favorite jam so far in my family! The recipe doesn't require any extra pectin and doesn't have a ginormous amount of sugar like 7 cups that I've seen in many recipes online. The strawberries already make the jam so naturally sweet. 

After making this jam, my mom and I made decided to continue canning so we made a fruity Victorian barbecue sauce, which had the most interesting and unique combinations of fruits and spices! That post will come soon! 

Here is the recipe: 

Ingredients:
  • 3 1/2 pounds of rhubarb, 1/2 inch slices
  • 4 quarts of strawberries, hulled and quartered
  • 3 cups of sugar
  • Juice of 2 lemons
Directions: 
  1. Place the sliced fruit in a very large pot over the stove. Add the lemon juice and sugar and mix until everything is combined. 
  2. Turn the heat to medium-high, the liquid from the fruit will begin to boil. Keep on medium-high heat for about one hour, stirring very frequently so the fruit on the bottom does not burn. (Tip: You can stir in about 1 teaspoon of butter in the pot if the foam from the boiling is out of control!)
  3. You can use the frozen spoon or plate test to find out whether the jam is finished cooking. Use this page for directions - it explains both tests very well! When your jam is finished, you can process the jam in washed and warmed jars for canning, or just place the jam in your own jars for personal use! 
  4. If you are processing the jars, fill them and close them fingertip tight. Place them under boiling water to process for 10 minutes. Remove them after the 10 minutes is finished, and let them cool on the counter. 
  5. Add labels or tags to decorate them as gifts to friends, family or neighbors! The perfect summer gift for anyone. 

xoxo, A


Saturday

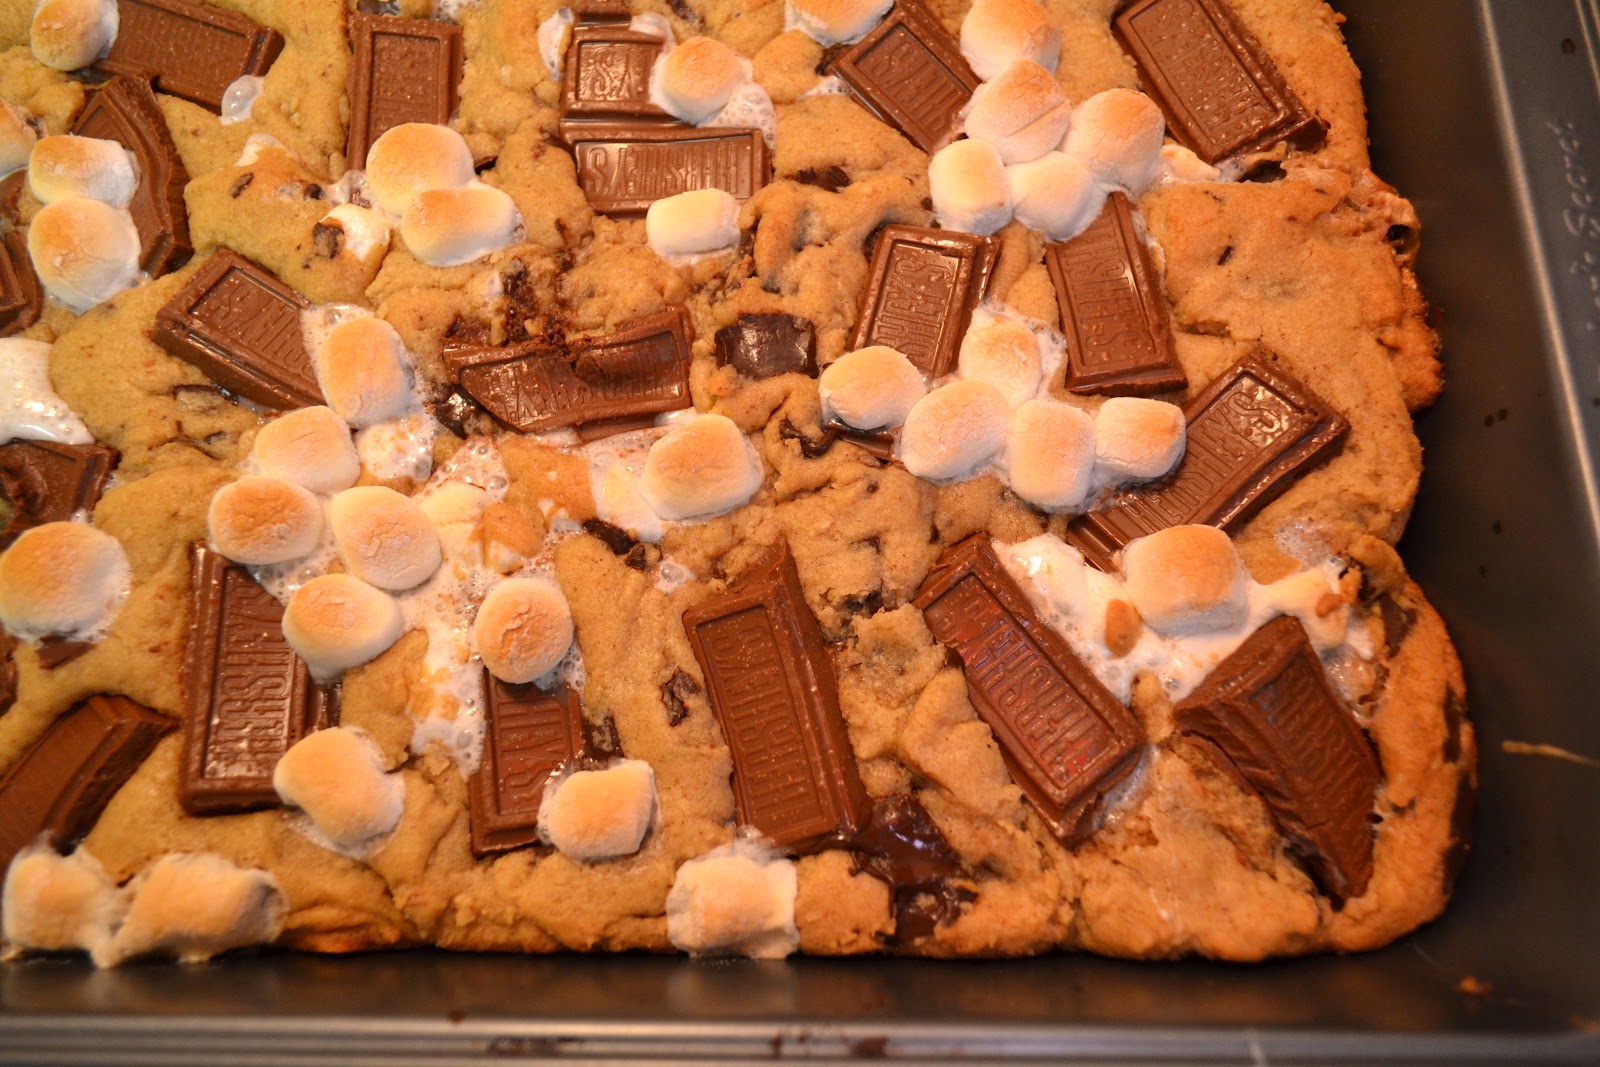
S'mores Cookie Bars


These S'mores cookie bars are so deadly. If you make these, I guarantee you'll be making another batch the next day... that's what I did! The first batch of bars were gone overnight, and the second batch was gone in less than a day. Might as well use up all the ingredients you have for this recipe, right? Honestly, they are so addicting and the idea is genius. It's hard to make real s'mores without a fire pit or a bonfire, so these bars are the ideal replacement for a quick summertime treat. 

The bars were quick and easy to make; in about 15 minutes you'll have delicious, to-die-for s'mores cookie bars that will disappear in minutes. There's nothing tricky or difficult about this recipe at all - if anything, it was fun making both batches!

Here is the recipe: 

Ingredients: 
  • 2/3 C butter, softened
  • 1 C brown sugar, packed
  • 1/2 C granulated sugar
  • 2 eggs
  • 1 tsp vanilla extract
  • 1 tsp baking soda
  • 3/4 tsp salt
  • 1 tsp cinnamon
  • 2 1/4 cups flour
  • 11 oz. dark chocolate chunks (I used semi-sweet instead)
  • 3 regular (or 2 large) sized Hershey bars, broken into pieces 
  • 2 sleeves of graham crackers, broken into squares 
Directions: 
  1. Preheat oven to 375 degrees F. Lay out graham crackers on a large rimmed baking sheet leaving no gaps between them. Set aside. 
  2. Whisk together flour, baking soda, salt and cinnamon in a medium bowl. Set aside. 
  3. In a large bowl, cream together butter and sugars with an electric mixer until fluffy, about 2-3 minutes. 
  4. Incorporate vanilla then add eggs one at a time, beating well after each addition. 
  5. Gradually beat in flour mixture. Fold in chocolate chunks and only 1 C of marshmallows. 
  6. Using an ice cream scooper, place balls of cookie dough on the graham cracker in the baking sheet. Press out the dough to spread it out a little bit. 
  7. Bake for only 5 minutes then press Hersehy pieces and the remaining 1/4 C of marshmallows on top. Bake for 5-7 more minutes. 
  8. Cool bars in the pan. Cut through the cookie layer into squares, making sure to cut where the graham crackers meet. 
The bars are best when slightly warm - you definitely won't be able to wait until they are fully cooled! 

XO, A


Monday

Strawberry Rhubarb Pie


I have never tasted rhubarb before - all I knew about it was that it looked like red celery. I did some research on rhubarb before starting the pie and this site explains how "rhubarb is often commonly mistaken to be a fruit but rhubarb is actually a close relative of garden sorrel, and is therefore a member of the vegetable family." But, this site says that since rhubarb is so often used as a fruit in pies and other desserts, that it's considered a fruit... I thought, hmm okay... fruit or vegetable?! Whatever, I'll just go with it. 


Over the weekend I went to Bainbridge Island with my boyfriend and went to their farmer's market in 'downtown' Bainbridge. That was where I saw rhubarb stalks for $1 each and knew I had to get some. I ended up getting only 2 stalks, and thinking back I should have gotten way more to use in other recipes! Oh well, guess I'll have to go back to Bainbridge Island next weekend.. :)


Anyway, there were many recipes out there for strawberry-rhubarb pie. I chose this recipe because, like many other recipes on Smitten Kitchen, I had a feeling it was going to taste the best out of the others. She had 2 recipes to choose from, but I chose to go with the one she made 'improvements' on... I'm sure both recipes taste wonderful though! 

I love how beautiful this pie is, the fruits really stand out, not only in color but in flavor as well. Rhubarb originally has a strong tart taste to it, but when it is baked with sugar and strawberries, it gets much sweeter. I love the taste of rhubarb now; i've learned that you can add rhubarb to many, many desserts, such as: bars, breads, cakes, muffins, jams, and tarts. I think I'm going to have to try making jam with rhubarb next! 

Here is the recipe: 
from Smitten Kitchen

  1 recipe All Butter, Really Flaky Pie Dough or double-crust pie dough of your choice
  3 1/2 C (about 1 1/2 pounds, untrimmed) rhubarb, in 1/2-inch thick slices
  3 1/2 C (about 1 pound) strawberries, hulled and sliced if big, halved if tiny
  1/2 - 3/4 C granulated sugar
  1/4 C light brown sugar
  1 tbl lemon juice
  1/4 tsp salt
  1/4 C quick-cooking tapioca
  2 tbl unsalted butter, cut into small pieces
  1 large egg yolk beaten to blend with 1 tsp water (for glaze)

1.Preheat oven to 400 degrees. On a well-floured counter, roll half of pie dough into a 12-inch circle and carefully transfer to a 9-inch pie plate. Deb says to fold the dough into quarters for easy transfer to the pie plate.)
2. Stir together rhubarb, strawberries, sugars, lemon, salt and tapioca in a large bowl. Mound filling inside bottom pie crust and dot with bits of unsalted butter. Roll second half of pie dough into an 11-inch circle and cut decorative slits in it. Transfer it to center over the pie filling. Trim top and bottom pie dough so that their overhang beyond the pie plate lip is only 1/2-inch. Tuck rim of dough underneath itself and crimp it decoratively.
3. Transfer pie to a baking sheet and brush egg yolk mixture over dough. Bake for 20 minutes then reduce temperature to 350 degrees and bake for an additional 25 to 30 minutes, until the pie is golden and the juices bubble visibly.
4. Transfer pie to wire rack to cool. When fully cool (several hours later) the juices gel.

The pie will keep for up to 3 days at room temperature. Enjoy the pie with some vanilla ice cream, or simply on its own! 


XOXO, A


Thursday

French Sugar Puffs


I came across these pretty little treats on Smitten Kitchen and knew I had to try them out. I want to slowly move towards baking only French treats and pastries, and this recipe was really easy to follow (it was adapted from David Lebovitz). David's blog, found here, is one of my absolute favorites and I visit it almost daily. I've tried many of his ice cream recipes and they are so versatile and can be adapted in many different ways!

Anyway, these delicious sugar puffs is the basic recipe for creme puffs, but you could make them with or without the creme. Either way they are delicious! It made about 20 puffs and they were a huge hit with my friends. If you make this recipe, try sprinkling pearl sugar on top before baking to add some extra sweetness! Debra's blog tells you where you can find some pearl sugar near you :)

Enjoy!
xoxo, A

Friday

The Best Blondies


To be honest, I didn't know what blondies were when I first heard of them. I knew they baked like brownies, but didn't know the significance behind the name. But duh... it's because brownies look like brunettes and blondies like blondes... um sorry took me a while to get that one. Anyway, I love the idea of  combining a chocolate chip cookie and a brownie; blondies have the taste of a chocolate chip cookie, but instead they have gooey middles which are delicious. I might just like them more than brownies... we will see. 


I got this recipe from Smitten Kitchen and the recipe can adapted in any way you like. I thought about adding mashed up bananas, but thought I would test out the recipe first then experiment later. I am now definitely going to add some bananas, maybe some dried fruit or white chocolate chips to my next batch! I will run some tests and let you all know!

I know I haven't been my best in keeping up with my baking, but I am doing some serious planning. Three more weeks and I will be done with school and will have my wonderful kitchen back home in LA! I can't wait. I am dying to make a strawberry-rhubarb pie... but in the mean time while I am here in Seattle I will make a Banoffee pie, French sugar puffs, and I'm thinking some ice cream sandwiches to start off the summer right! 

Here is the recipe: 
from Smitten Kitchen:
  8 tbl (1 stick, 4 ounces or 113 grams) butter, melted
  1 C (218 grams or 7 3/4 ounces for light; 238 grams or 8 3/8 ounces for dark) brown sugar
  1 large egg
  1 tsp vanilla or 1/2 teaspoon almond extract
  Pinch salt
  1 C (4 3/8 ounces or 125 grams) all-purpose flour

1.        Butter an 8×8 pan
2.       Mix melted butter with brown sugar – beat until smooth. Beat in egg and then vanilla.
3.       Add salt, stir in flour. Mix in any additions (below).
4.       Pour into prepared pan. Bake at 350°F 20-25 minutes, or until set in the middle. Cool on rack before cutting them.

Further additions, use one or a combination of:
  1/2 to 1 C chopped nuts, toasting them first for even better flavor
  1/2 to 1 C chocolate chips
  1/2 tsp mint extract in addition to or in place of the vanilla
  1/2 C mashed bananas
  1/4 C bourbon, scotch or other whiskey; increase the flour by one tablespoon
  2 tbl of espresso powder with the vanilla
  Stir 1/2 C dried fruit, especially dried cherries, into the prepared batter
  Top with a vanilla butter cream or chocolate peanut butter cream frosting

xoxo, A


Tuesday

Strawberry Shortcake


When I was younger, I remember going to the grocery store with my family and buying sliced pound cake, a can of whipped cream and some strawberries, and then assembling those together and thinking it was the best 'shortcake' ever... but it wasn't. The real deal has to be this recipe; the buttermilk biscuits, sugared strawberries, and homemade whipped cream really hit the spot. No can of whipped cream will ever do justice compared to this recipe for whip cream! It is to die for. My biscuit cutter was perfect for the butter biscuits; the curved edges add a nice touch to these small shortcakes. 


I'm starting to really love making bread-based or dough recipes - I find their processes to be very straight forward when you carefully follow the sometimes complex directions. You'll get satisfying and delicious biscuits or a hearty loaf of bread! 


You can't go wrong with a great recipe for strawberry shortcake - perfect for a nice summer day. Also, the video above on assembling the strawberry shortcakes is from my boyfriend's blog found here - he's a great photographer! 


Here's the recipe,  from Epicurious:


Buttermilk Biscuits:

  • 1 1/2 C all-purpose flour
  • 1 1/2 tbl sugar
  • 1 1/2 tsp baking powder
  • Rounded 1/4 tsp salt
  • 1/4 tsp baking soda
  • 1/2 stick (1/4 C) cold unsalted butter, cut into 1/2-inch cubes
  • 3/4 C well-shaken buttermilk
  • 1 tbl milk or cream for brushing biscuits


  1. Put oven rack in middle position and preheat oven to 425°F.
  2. Sift together flour, sugar, baking powder, salt, and baking soda onto a sheet of wax paper, then sift again into a bowl. Blend in butter with your fingertips until mixture resembles coarse meal. Add buttermilk and stir with a fork until a dough just forms (dough will be moist).
  3. Turn dough out onto a well-floured surface and knead gently 6 times. Pat out dough on a floured surface with floured hands, reflouring surface if necessary, into an 8- by 5 1/2-inch rectangle. Trim all 4 sides with a knife, dusting knife edge with flour before each cut. Cut rectangle in half lengthwise, then into thirds crosswise to form 6 (2 1/2-inch) squares, flouring knife between cuts. Transfer biscuits with a metal spatula to an ungreased baking sheet, arranging them 2 inches apart, and brush tops with milk or cream. Bake until pale golden, 12 to 15 minutes, then transfer to a rack to cool to room temperature.


Strawberry Shortcake Assemblage: 

  • 2 1/2 lb strawberries, trimmed and quartered (7 1/2 C)
  • 1/3 C granulated sugar, or to taste
  • 1 C chilled heavy cream
  • 1/4 C sour cream
  • 1 1/2 to 2 tbl confectioners sugar
  • 1/2 tsp vanilla
  • 6 buttermilk biscuits


  1. Toss strawberries with granulated sugar in a large bowl and let stand 5 minutes. Gently press strawberries with potato masher to help release their juices, being careful not to crush them to a pulp. Let stand at room temperature, stirring occasionally, 45 minutes to 1 hour.
  2. Beat together heavy cream, sour cream, confectioners sugar (to taste), and vanilla in a bowl with an electric mixer at medium-high speed until it holds a soft shape (not stiff).
  3. Split biscuits horizontally with a fork and arrange 2 halves, split sides up, on each of 6 plates. Top with strawberries and juices, then with whipped cream.
Enjoy! 
xoxo, A