Showing posts with label cookies. Show all posts

Saturday

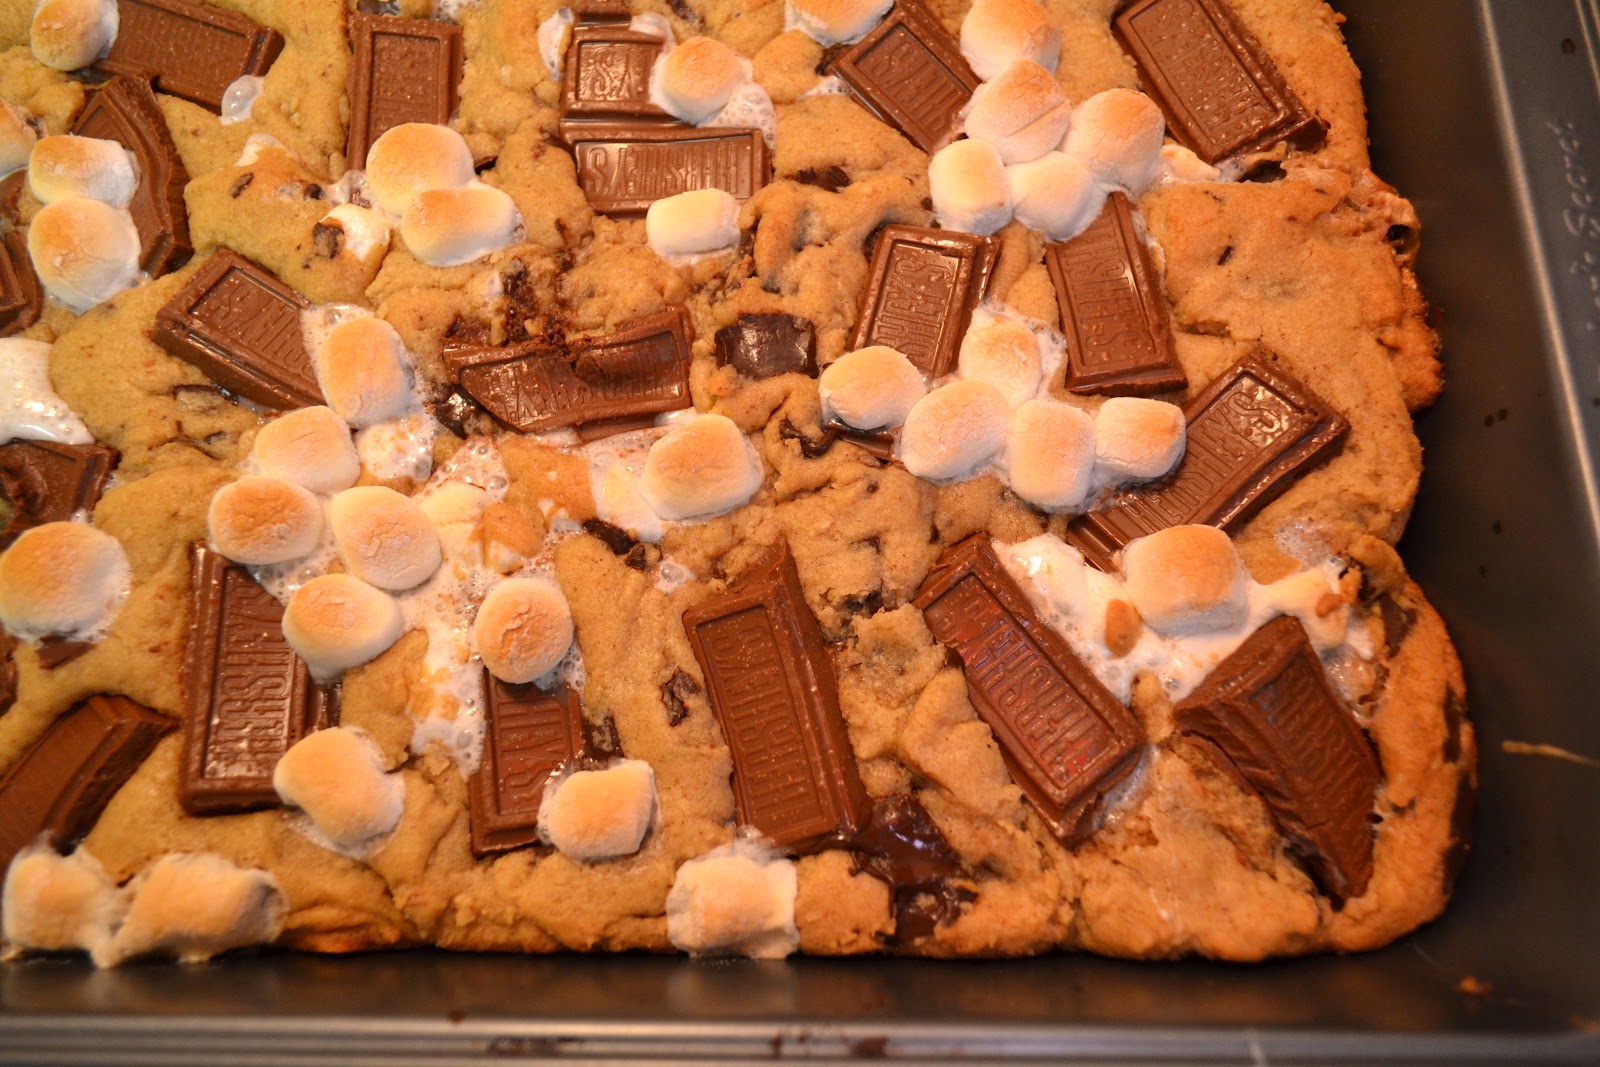
S'mores Cookie Bars


These S'mores cookie bars are so deadly. If you make these, I guarantee you'll be making another batch the next day... that's what I did! The first batch of bars were gone overnight, and the second batch was gone in less than a day. Might as well use up all the ingredients you have for this recipe, right? Honestly, they are so addicting and the idea is genius. It's hard to make real s'mores without a fire pit or a bonfire, so these bars are the ideal replacement for a quick summertime treat. 

The bars were quick and easy to make; in about 15 minutes you'll have delicious, to-die-for s'mores cookie bars that will disappear in minutes. There's nothing tricky or difficult about this recipe at all - if anything, it was fun making both batches!

Here is the recipe: 

Ingredients: 
  • 2/3 C butter, softened
  • 1 C brown sugar, packed
  • 1/2 C granulated sugar
  • 2 eggs
  • 1 tsp vanilla extract
  • 1 tsp baking soda
  • 3/4 tsp salt
  • 1 tsp cinnamon
  • 2 1/4 cups flour
  • 11 oz. dark chocolate chunks (I used semi-sweet instead)
  • 3 regular (or 2 large) sized Hershey bars, broken into pieces 
  • 2 sleeves of graham crackers, broken into squares 
Directions: 
  1. Preheat oven to 375 degrees F. Lay out graham crackers on a large rimmed baking sheet leaving no gaps between them. Set aside. 
  2. Whisk together flour, baking soda, salt and cinnamon in a medium bowl. Set aside. 
  3. In a large bowl, cream together butter and sugars with an electric mixer until fluffy, about 2-3 minutes. 
  4. Incorporate vanilla then add eggs one at a time, beating well after each addition. 
  5. Gradually beat in flour mixture. Fold in chocolate chunks and only 1 C of marshmallows. 
  6. Using an ice cream scooper, place balls of cookie dough on the graham cracker in the baking sheet. Press out the dough to spread it out a little bit. 
  7. Bake for only 5 minutes then press Hersehy pieces and the remaining 1/4 C of marshmallows on top. Bake for 5-7 more minutes. 
  8. Cool bars in the pan. Cut through the cookie layer into squares, making sure to cut where the graham crackers meet. 
The bars are best when slightly warm - you definitely won't be able to wait until they are fully cooled! 

XO, A


Sunday

Cookies and Cream Ice Cream


I love cookies and cream ice cream, it reminds me of the days of getting a single scoop of cookies and cream at Rite Aid, when it was only .99! Now, I would way rather make my own ice cream, which is definitely healthier and more fun to make. I made this right in time for my birthday, which was yesterday, so its been a delicious dessert the past couple days. For this recipe, I used Trader Joe's Joe-Joe's Cookies, which are just like Oreo's, but have all natural flavors, no hydrogenated oils, and made with real vanilla bean specks. The ice cream turned out creamy and rich, and was much easier to make than a custard based ice cream. Since I don't have an ice cream maker, I changed the steps around so I could do the freezer method. I also used more cookies than called for, and crushed some of them up to be very small so that the base would be more chocolatey. Of course I mixed in bigger cookie pieces, because for me, that's my favorite part of cookies and cream ice cream. 

Here is the recipe (with my changes):

  • 1.5 C almond milk (or 1 C whole milk)
  • 3/4 C sugar
  • pinch of salt
  • 2C heavy cream
  • 1 tbsp vanilla
  • 20-25 Trader Joe's Joe-Joe's Cookies

  1. In a medium bowl, combine almond milk, sugar and salt. Whisk or beat for several minutes until the sugar has dissolved completely. Add the cream and vanilla. Give a quick stir to blend. Cover and chill for around 1-2 hours. 
  2. Chop up the 20-25 cookies in an irregular manner. If you want a more vanilla base, add less cookies, but if not, add some more! Grab the chilled bowl, and add the chopped up cookies. Cover the bowl with plastic wrap and place in the freezer. If you have an ice cream maker, this would be where you would follow your manufacturer's directions. If you don't have an ice cream maker, make sure you check on your ice cream every 30-40 minutes to make sure the ice cream doesn't harden and form ice crystals; mix the ice cream with a spatula or spoon each time you check it. 
  3. After you reach a creamy consistency, transfer the ice cream to a covered container to store. At this point, store the ice cream in the freezer for a couple hours to let it harden a little. This ice cream won't harden too much though - it's perfect for scooping. 

Enjoy!

xoxo, A

Thursday

Homemade Girl Scout Cookies: Do-Si-Dos


Did you know that today is National Peanut Butter Lovers Day? When I found out, I knew I had to make these Girl Scout cookies, from Baking Bites. I haven't gotten any Girl Scout cookies yet, but making these delicious peanut butter cookie sandwiches got me very excited to get some! My absolute favorite girl scout cookies are Do-Si-Dos and Thin Mints (my next challenge) and these peanut butter cookies are a very close replica to the real deal. These cookies are crispy, crunchy and have the perfect amount of peanut butter.


Here is the recipe
from Baking Bites:


Cookies:

  • 2 1/4 C all purpose flour
  • 2 tbsp baking soda
  • 1 tbsp baking powder
  • 1/2 tsp salt
  • 1 1/2 C unsalted butter, at room temperature
  • 3/4 C chunky peanut butter
  • 1 C brown sugar
  • 1 C sugar
  • 3 large eggs
  • 1 tsp vanilla extract
  • 1 1/2 C quick-cooking oats (not instant or regular)
Filling
  • 1 1/2 cups creamy peanut butter, at room temperature
  • 1/2 C butter, at room temperature 
  • 1/4 C confectioners' sugar
  1. Preheat oven to 350 degrees F. In a medium bowl, whisk together the flour, baking powder, baking soda and salt. 
  2. in a large bowl, cream together butter and peanut butter. Beat in the sugars until fluffy, then add in the eggs one at a time, waiting until each is fully incorporated before adding the next. Stir in vanilla extract. 
  3. working at a low speed, mix in the flour, followed by the oats. 
  4. On a parchment-lined baking sheet (I used a baking mat), drop teaspoonfuls of batter (roughly 3/4-in. sized balls, make them smaller than you think!), leaving about 2 inches between each to allow for spread. 
  5. Bake for 10 minutes, until cookies are a light golden brown. Cool on baking sheet for 5 minutes. Transfer to a wire rack to cool completely. 
  6. Once the cookies have cooled, make the filling. In a large bowl, cream together smooth peanut butter, butter and confectioners' sugar until very smooth. Spreak 2-3 tsp onto half of the finished cookies and sandwich with the remaining halves. 
Makes about 48 sandwich cookies!

xoxo, A

Chewy Chocolate Chip Cookies

{using an ice cream scooper for the dough makes it so much easier to scoop}


Everyone is in search for their idea of the perfect chocolate chip cookie. Whether you love crispy, chewy, or cakey chocolate chip cookies, there's a perfect recipe out there for you to find. I personally love soft and chewy, and I've been searching for quite some time for the perfect recipe. Ever since I bought the Food Network's Chocolate Issue (to die for), I knew I had to make something with chocolate. In this issue there is a recipe for the crispy, cakey, and chewy chocolate chip cookie lovers. I obviously went with the Chewy Chocolate Chip Cookie Recipe, and it's safe to say that I have finally found my favorite chocolate chip cookie recipe! 


Here's the recipe (from the Food Network Magazine):

  • 2 3/4 C all-purpose flour
  • 1 tsp salt
  • 1 tsp baking powder
  • 1 tsp baking soda
  • 2 1/2 sticks unsalted butter, softened 
  • 1 3/4 C packed dark brown sugar
  • 1/4 C granulated sugar
  • 2 large eggs, at room temperature
  • 2 tsp vanilla extract
  • 2 cups semisweet chocolate chips (I used 1 1/2 cups semisweet, and 1/2 C roughly chopped milk chocolate) 
  1. Sift the flour, salt, baking powder, and baking soda together into a large bowl. 
  2. beat the butter, brown sugar and granulate sugar with a mixer on medium-high until pale and fluffy, about 4 minutes. Beat in the egg, one at a time, then beat in the vanilla. 
  3. Reduce the speed to low and all the flour mixture and mix until combine. 
  4. stir in the chocolate chips by hand and press plastic wrap directly onto the surface of the dough. Chill for at least 1 hour or preferably overnight (I chilled the dough overnight)
  5. After chilling, preheat the over to 375 degrees F. Line 2 baking sheets with parchment, drop heaping tablespoonfuls of dough onto the prepared baking sheets, about 2 inches apart. 
  6. Bake for about 12 minutes, until the cookies are golden around the edges but soft in the middle. Remove the cookies from the oven and let cool for 10 minutes on the baking sheets, then transfer to racks to cool completely. 
I love this recipe because you still get slightly golden and crispy edges to help the cookie keep it's shape, but it's still wonderfully soft and chewy in the center. Adding my 1/2 C of milk chocolate chunks just added to the sweetness; plus I wanted to mix it up by adding a different type of chocolate. Voila, the perfect chocolate chip cookie! 

Now, go buy the Food Network Chocolate Issue! It's so worth it, I promise you won't regret it. 

xoxo, A


Monday

Homemade Oreos


{cutting the chilling cookie dough...}

{...and placing them on a buttered baking sheet}

 {they baked perfectly for about 21 minutes}

{perfect with milk, or almond milk in my case}


These are by far the biggest, most delicious chocolate cookie sandwiches I've tasted. I've never been a huge Oreo fan, but I wondered how close this recipe would come to the famous Oreo cookie itself. Results: very, very, very close, almost scary. Similar to the real Oreo cookie: the wafers in the homemade cookie aren't sweet, they still have that dark chocolate, slightly bitter taste, giving all the sweetness to the icing in the middle. As for the size, well, my homemade ones are a little larger (ha) - I guess it just makes it that much more satisfying to eat!

These homemade Oreos are a perfect treat for any occasion - from giving them to a friend cutely packaged just because, or for a sweet dessert after a dinner with friends. I loved making the homemade version of the famous Oreo cookie so much I want to try making Twix or Snickers candy bars next... yum! Stay tuned!

xoxo, A


Friday

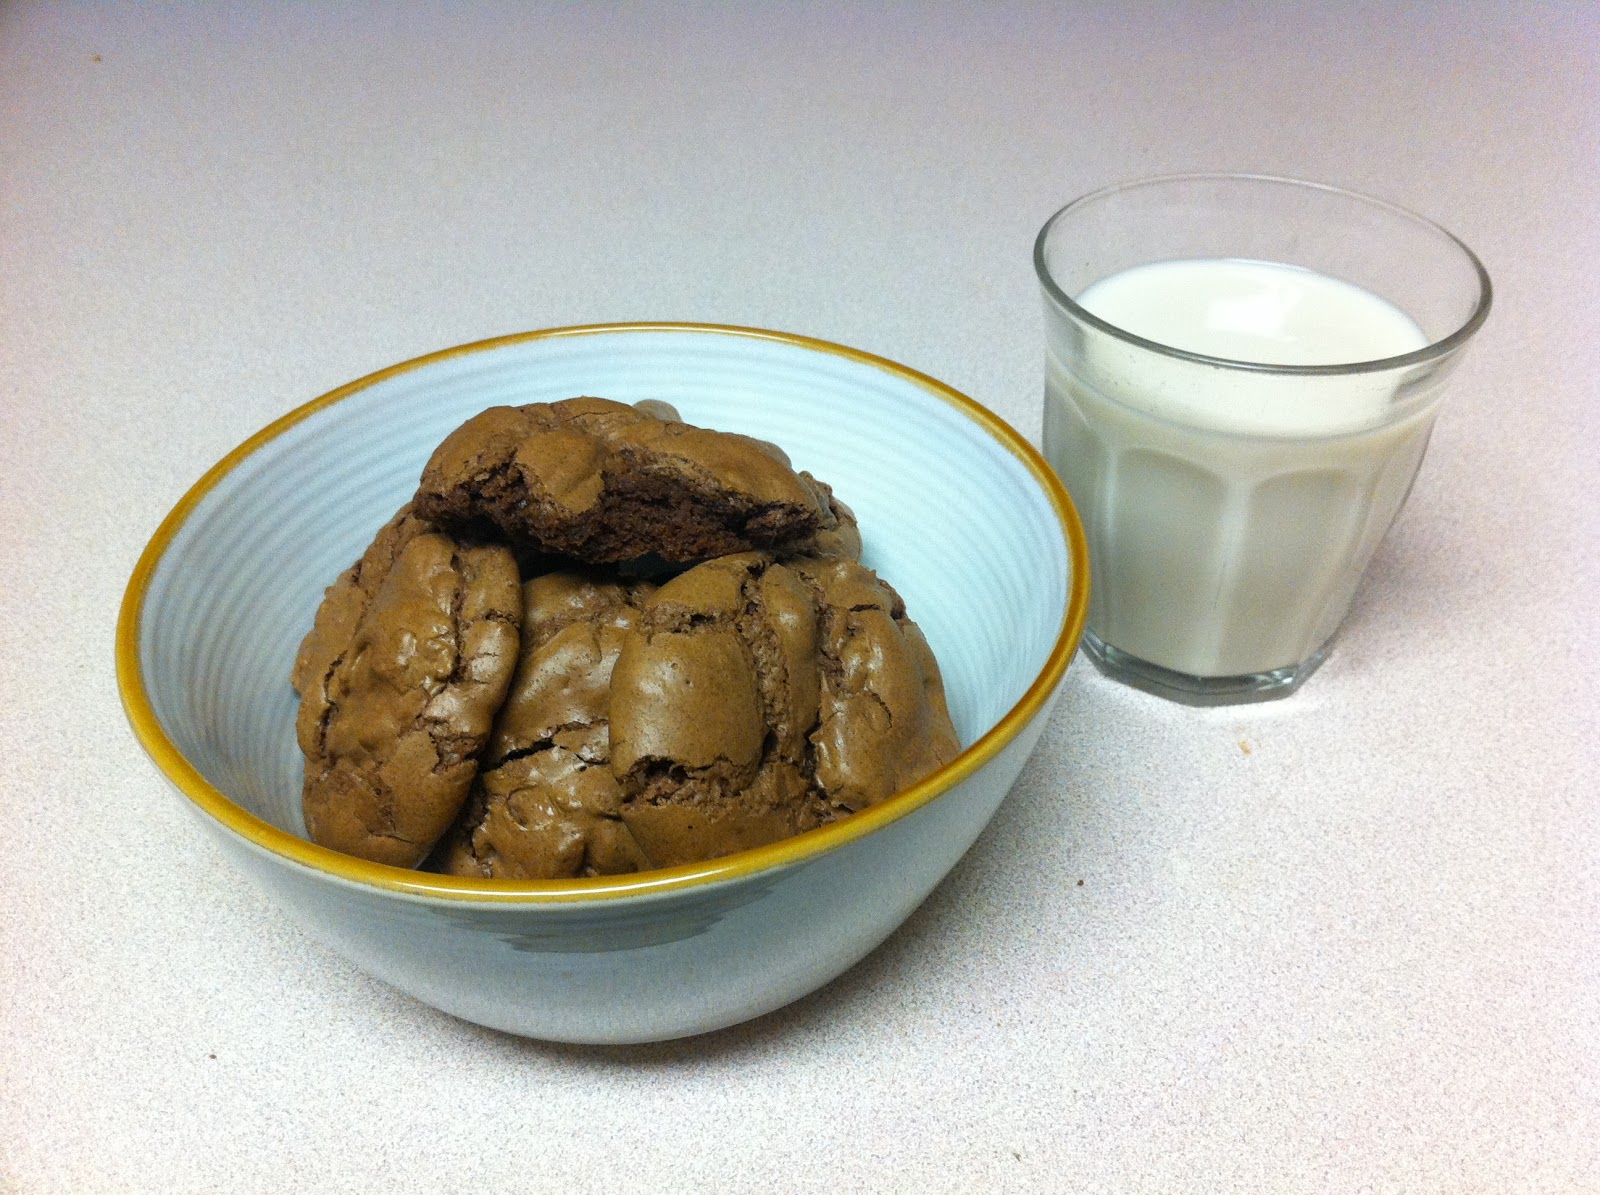
Chocolate Chubbies


{silicone baking mats make the perfect cookie!}

{another perfect dessert}

Think about this: a brownie meets a cookie meets a meringue... ever thought this combination was even possible?! Nope, neither did I - until I came across this recipe in Sarabeth Levine's baking book, Sarabeth's Bakery. This baking book is filled with pastries, muffins, cakes, breads, cookies, spreadable fruits and more. What really caught my eye is how easy and simplistic the recipe for these chocolate chubbies seemed. Not only was I so curious to see how they turned out, I was craving some chocolate. So I obviously made them no doubt. 


All I had to do was melting some chocolate and butter, beat the eggs until they are light colored and foamy, mix in chocolate and dry ingredients and then stir in the chocolate chips - voila! I omitted the nuts, by the way.


From my pictures above, you can tell that the "chubby" is crunchy on the outside like a meringe, so moist and chocolatey on the inside, but holds the shape of a cookie perfectly. They were a huge hit and I can't wait to make them again! 


P.S. eat these warm with some vanilla ice cream... to die for. 


xoxo, A

Tuesday

An Adorable Holiday Gift


Over the weekend, one of my sisters, Sarah, came across this very cute idea for holiday gifts: putting all dry ingredients of Oatmeal Chocolate Chip Cookies into a large glass jar to give away as easy and simple holiday gifts. I thought this was the cutest idea ever so me, Sarah and other sister, Maddie, joined in and helped her.
Each layer represents a different dry ingredient; from the bottom of the jar to the top: granulated sugar, light brown sugar, flour, baking powder and salt, then the oats and finally, the chocolate chips.


You can use this gift idea for any type of cookie recipe, even for cupcake recipes! Just layer all the dry ingredients and pack each layer down to make it look neat and organized. Finish the closed jar off with some ribbon or colored raffia - don’t forget to add a tag with the directions of how to bake your goodies! 
Making these gifts got me so excited for the Christmas season!
xoxo, A

Milk Chocolate Hazelnut Cookies


Ever since I bought Joanne Chang’s cookbook based on her bakery, Flour, I’ve been obsessed. She is a baking genius - her recipes are so easy to follow and they guarantee success! I decided to make her Milk Chocolate Hazelnut Cookies, but I was kind of skeptical about the hazelnuts part. I’ve never worked with hazelnuts in cookies before, but I obviously love Nutella sooo I thought I’d try baking these cookies.

After I both processed some of the hazelnuts and chopped some of them up, I mixed them into the batter.. tasted it.. and was surprised! I honestly thought it would make the dough taste slightly nutty and grainy, but the hazelnuts gave the dough so much flavor and almost a light hint of chocolate. These cookies are pretty much like your basic, sweet chocolate chip cookie, but with a hint of that delicious Nutella flavor!

Here is the recipe: 

 
3/4 C plus 1 tbl unsalted butter, at room temperature

  • 2/3 C granulated sugar
  • 2/3 C packed light brown sugar
  • 2 eggs
  • 1/2 tsp vanilla extract
  • 1 1/2 C blanched whole hazelnuts, toasted
  • 1 1/2 C unbleached all-purpose flour
  • 1 tsp baking soda
  • 3/4 tsp kosher salt
  • 12 oz milk chocolate, chopped

    1. Mix together the butter and sugars on medium speed for about 7 minutes with a standing mixer or hand mixer.
    2. Beat in eggs and vanilla on medium speed for 2-3 minutes.
    3. In a food processor, pulse 1/2 C of the hazelnuts into a fine powder. Chop the remaining 1 C of hazelnuts. Stir together all the hazelnuts, flour, baking soda, salt and chocolate.
    4. On low speed, slowly add the flour mixture into the butter-sugar mixture and mix until everything is incorporated together.
    5. Next, refrigerate the dough in cling wrap or a airtight container for at least 3 hours. I chose to freeze my dough for about 30-45 minutes, gave me the same results.
    6. Preheat oven to 350 degrees, and form dough into balls and place on cookie sheets. Flatten each ball slightly with your hand.
    7. Bake for about 20 minutes and let cookies cool on the cookie sheets for 5 minutes, then move the cookies to cooling racks. 
Voila! Delicious Milk Chocolate Hazelnut Cookies, by the wonderful Joanne Chang. Hope you guys try this recipe! Enjoy!
xoxo, A

Monday

Oatmeal Chocolate Chip Cookies


Here is my first baking post with pictures! I decided to make Oatmeal Chocolate Chip Cookies. Posted are a couple step-by-step photos (even though making cookies is pretty simple, it’s fun to look at photos!) 
The first photo is just the ingredients spread out in my new KitchenAid mixing bowls!! (Thanks, Mom <3) I added 1 cup of Old-Fashioned Quick Oats to a standard Chocolate Chip cookie recipe. Adding oats to any cookie recipe adds texture and makes the cookies thicker. You can add oats to any cookie recipe just made sure they aren’t instant oats because those types tend to have added sugars and flavors. 
In the third photo after the dough has been mixed together, I spread the cookie dough balls about 1.5 inches apart on top of parchment paper. I like making the cookie dough balls smaller because you get more cookies to share and the cookies are fun to eat when they are smaller! Plus you can eat more and not feel so guilty… kinda. Anyway, I love using parchment paper, the clean up is SO easy and the cookies don’t awkwardly stick to any baking pans. 
After the cookies were done baking (8 minutes in the oven), I placed them on cooling racks. The cookies are the perfect texture and I baked them just right. Slightly gooey on the inside, but still holds form and a little hardness on the outside. 
Enjoy!
xoxo, A