


I just love rhubarb now. I honestly never thought I would like the tart and sour fruit (...vegetable??), but it cooks and blends so nicely with other sweet fruit. I've been wanting to make strawberry rhubarb jam with my mom ever since I saw the first few stalks of rhubarb at the farmers markets in Washington. I told her she had to buy like 4 pounds of rhubarb or I wasn't coming home. Ha kidding... I went home and went on a huge search to find rhubarb at all my local grocery stores (my local farmers market wasn't until the weekend.. bummer.)
The rhubarb that was out on display at 2 of my local grocery stores had definitely been picked over... so that wasn't going to cut it. They happily got more in the back for me and I ended up getting a huge portion of it. I knew that all the rhubarb that the recipe called for would eventually cook down; this recipe only makes about 6 pints! It's not that much for all the fruit it requires. The jam is still delicious and definitely worth making - it's now officially the favorite jam so far in my family! The recipe doesn't require any extra pectin and doesn't have a ginormous amount of sugar like 7 cups that I've seen in many recipes online. The strawberries already make the jam so naturally sweet.
After making this jam, my mom and I made decided to continue canning so we made a fruity Victorian barbecue sauce, which had the most interesting and unique combinations of fruits and spices! That post will come soon!
Here is the recipe:
from Tart and Sweet:
Ingredients:
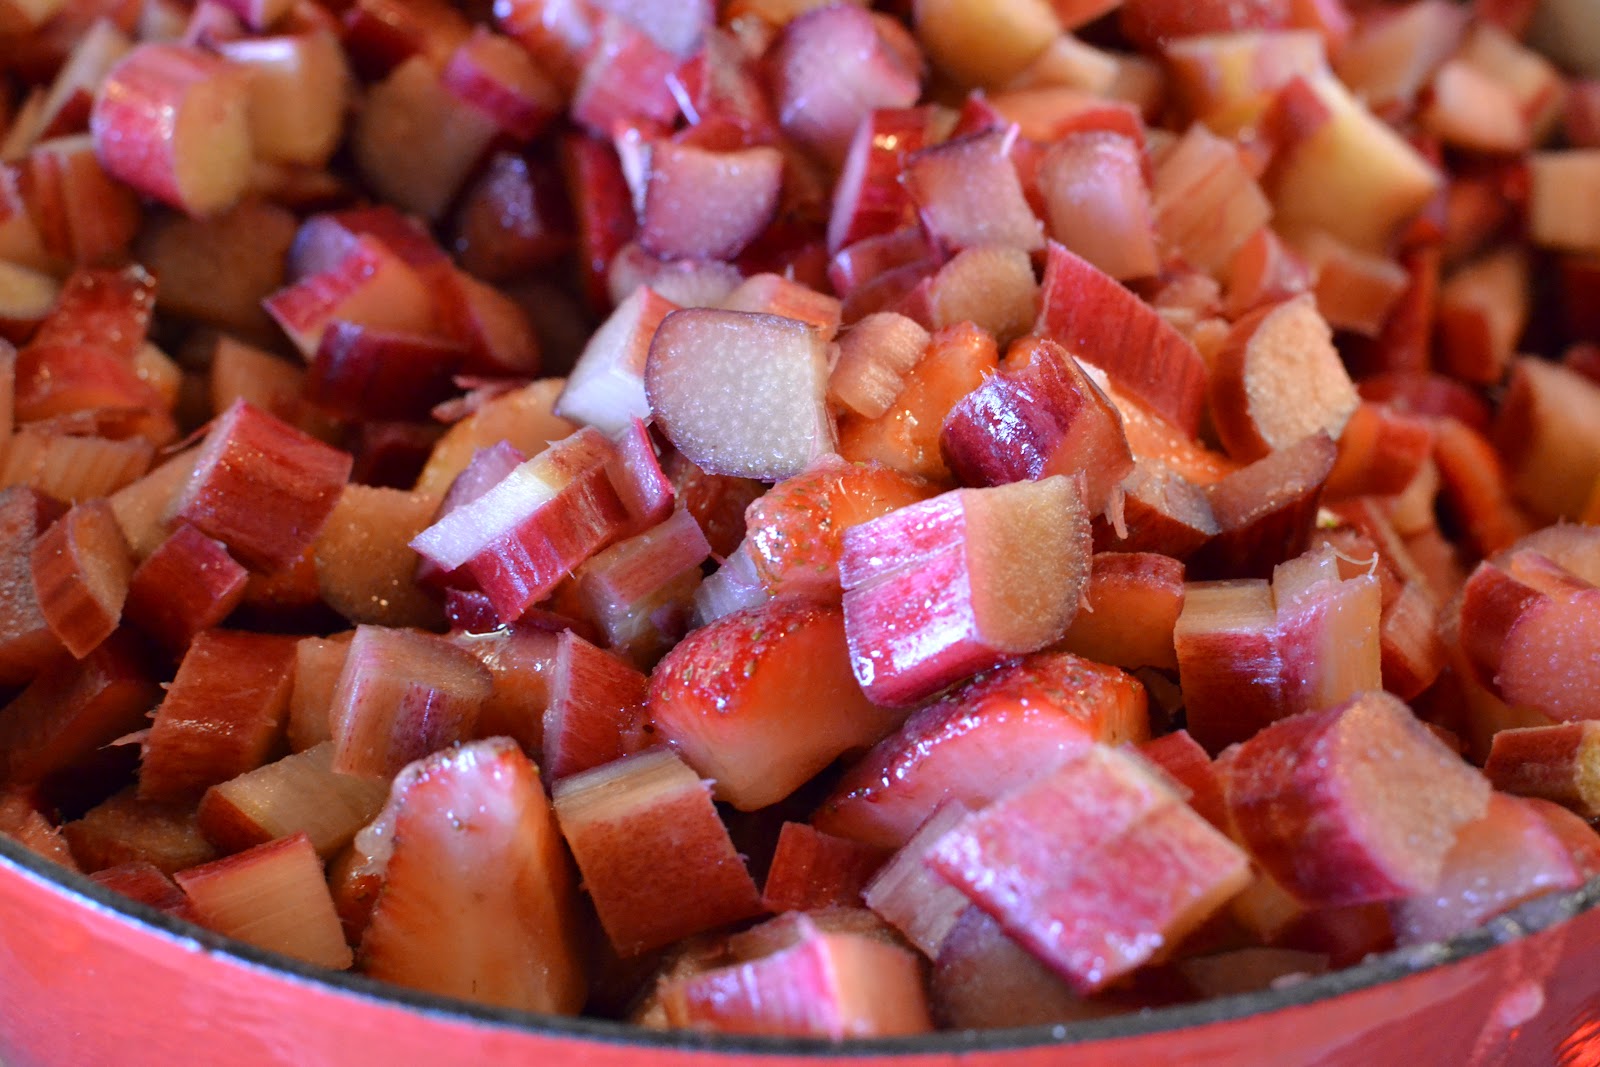
- 3 1/2 pounds of rhubarb, 1/2 inch slices
- 4 quarts of strawberries, hulled and quartered
- 3 cups of sugar
- Juice of 2 lemons
Directions:
- Place the sliced fruit in a very large pot over the stove. Add the lemon juice and sugar and mix until everything is combined.
- Turn the heat to medium-high, the liquid from the fruit will begin to boil. Keep on medium-high heat for about one hour, stirring very frequently so the fruit on the bottom does not burn. (Tip: You can stir in about 1 teaspoon of butter in the pot if the foam from the boiling is out of control!)
- You can use the frozen spoon or plate test to find out whether the jam is finished cooking. Use this page for directions - it explains both tests very well! When your jam is finished, you can process the jam in washed and warmed jars for canning, or just place the jam in your own jars for personal use!
- If you are processing the jars, fill them and close them fingertip tight. Place them under boiling water to process for 10 minutes. Remove them after the 10 minutes is finished, and let them cool on the counter.
- Add labels or tags to decorate them as gifts to friends, family or neighbors! The perfect summer gift for anyone.
xoxo, A
No comments:
Post a Comment